How to photograph your own food
A phone by a window beats a camera under a downlight, and it is the light doing all of it.
 A real Clay site, built from a Google listing
Almost everything written about food photography is about equipment, and the thing wrong with your pictures is that the kitchen light is on.
There are four decisions and none of them costs anything: where the light comes from, what the plate sits on, where you stand, and how much of it is in the frame. Get those right on a phone and the picture looks like the plate looks in the room, which is the only test that matters.
Four minutes a dish
-
1
Turn the overhead light off and stand by a window
Ceiling lights sit directly above the food, so the shadow falls into the plate and everything goes flat and orange. Daylight from the side is the whole trick, and an overcast day is better than a sunny one.
-
2
Put the light behind or beside the plate
Not behind you. Light coming past the food from the far side catches steam, glaze and crumb, which is what makes a photograph look like the smell.
-
3
Shoot from where a person eats it
A burger from above is a bun. A bowl from above is perfect. Straight down for anything with a surface, at plate height for anything with a side.
-
4
Get closer than feels right
Half the plate, sharp, beats the whole table. The picture is a detail, not an inventory, and the phone's own lens does the rest.
Whatever the food is actually served on
A prop board that is not in your dining room makes the photograph a lie, and people notice at the table rather than online. The real plate on the real table is more convincing anyway.
Wipe the rim. It is the single most common fault in a picture that was otherwise fine, and it takes two seconds.
Shoot the ones people order
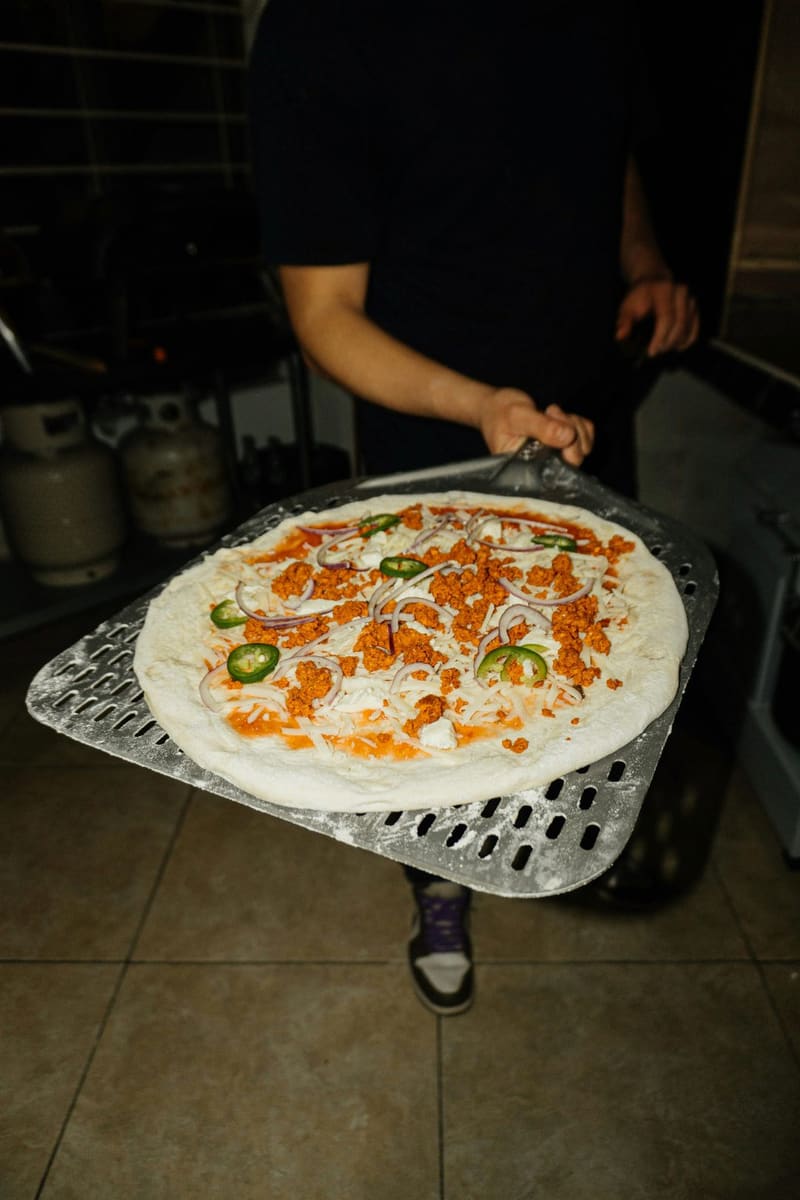
Not the most beautiful ones. The photograph is doing a job on the menu page and the job is to make somebody sure about the thing they were already leaning towards.
Six good pictures is a menu. Twenty mediocre ones is a slideshow nobody scrolls, and it makes the six good ones harder to find.
What to avoid, in order of damage
Where the pictures end up
On the menu, next to the dish
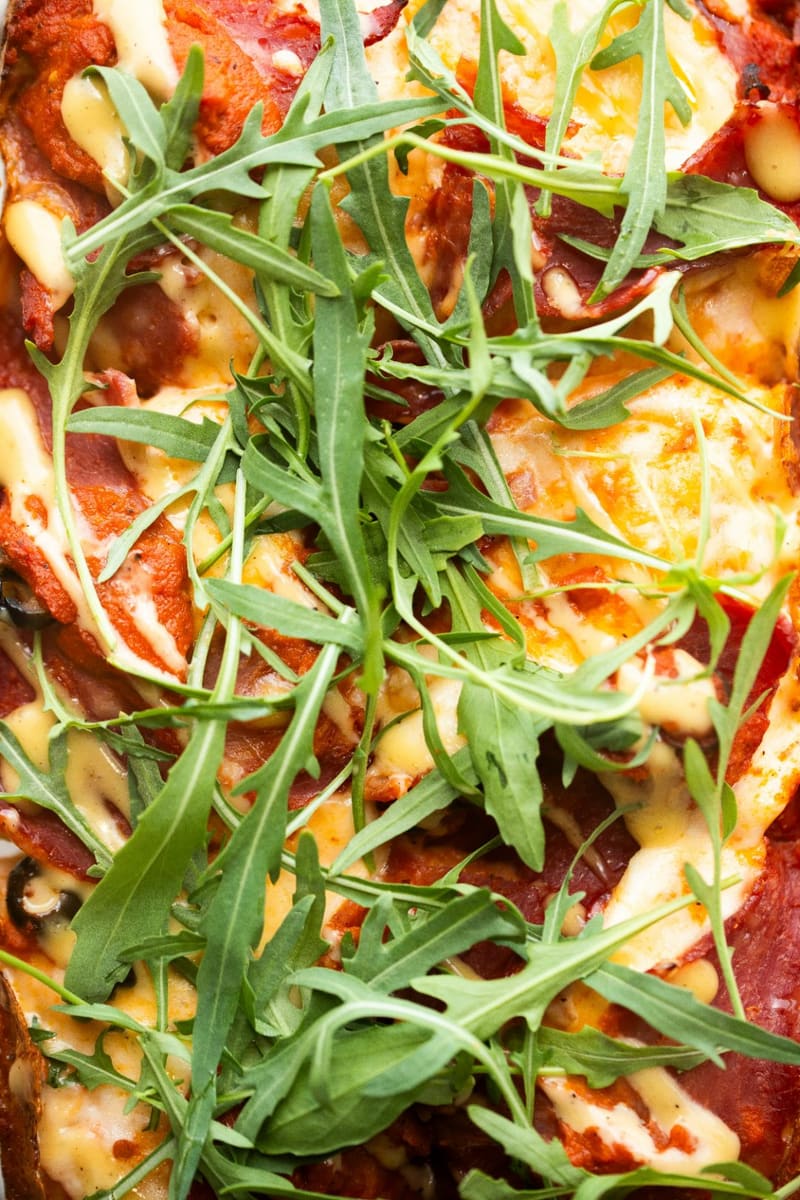
A photograph beside a name sells that dish. The same photograph in a gallery three pages away sells nothing at all.
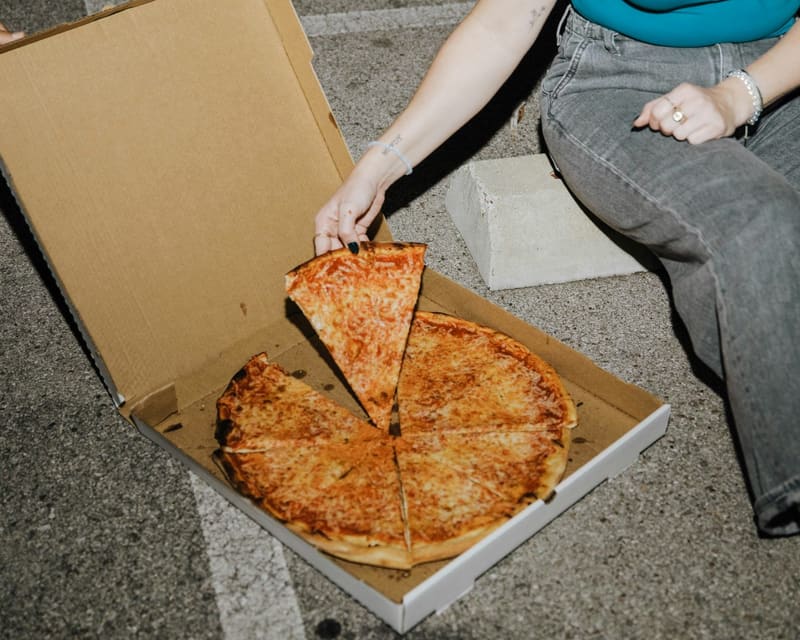
At the top of the page
The picture that opens a Clay site is chosen by looking at the photographs, and a good plate shot beats an empty room every time.
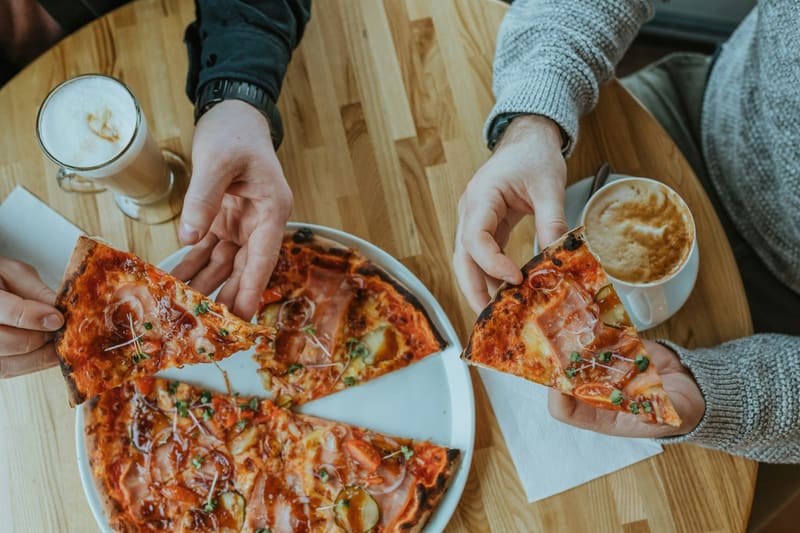
On your Google listing too
The same shots do double work there, and the listing is where most people see you first.
What it looks like when it is live
Drawn rather than described, the page, the address, and what it can switch on.
Questions
Do I need a proper camera?
No. A phone by a window is better than a camera under a downlight, because the light is doing almost all of the work and the phone is doing the rest.
What about at night, in a dark restaurant?
Shoot in the afternoon before service, in the same room. Nobody expects the photograph to have been taken at the moment the plate went out.
Should I edit them?
Straighten, crop, and lift the brightness a little. Do not touch saturation: food that is redder in the photograph than on the plate is the complaint people actually make.
How many pictures do I need?
One per dish you want to sell, and no more. A menu where a third of the dishes have pictures reads perfectly well.
Can I use stock photographs instead?
Not of your dishes. A generic plate of pasta on a trattoria's own menu is the fastest way to look like every other page, and it is not what somebody is served.
Where do the pictures go on the site?
Beside the dish itself: the menu on the page, not in a PDF.
What if my food is not photogenic?
Then photograph the room, the hands, the oven and the counter. A trade looks like itself in more places than the plate.
Try it with your business
Search your business and see your site in seconds, free, no signup.